
How to customize the Converge hosted payment page (HPP)
To customize the Converge hosted payment page (HPP), go to Settings > Hosted Payments and select Setup for Payment Page. From there you can change both the payment page and the response pages your customers see.
On this page
Before you start
Every customization on these pages is optional. If you use the hosted payment page, though, the website review team will review it to make sure it complies with card brand rules. It has to meet two requirements:
- The DBA name or logo must be displayed.
- Contact information must be available on the payment page.
Your DBA (“doing business as”) name is the business name your customers know you by.
How do I open the hosted payment page settings?
- From the left side menu, select settings and Hosted Payments
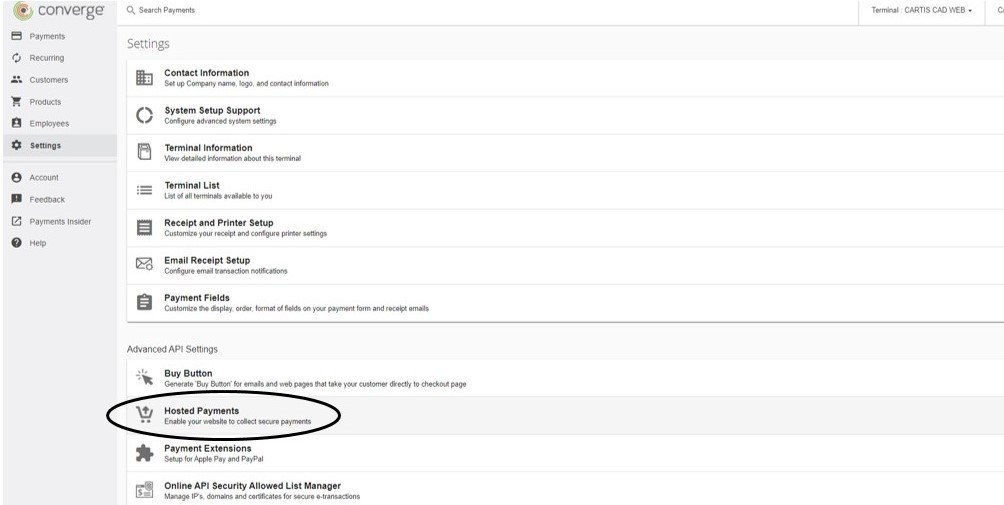
- Select Setup for Payment Page
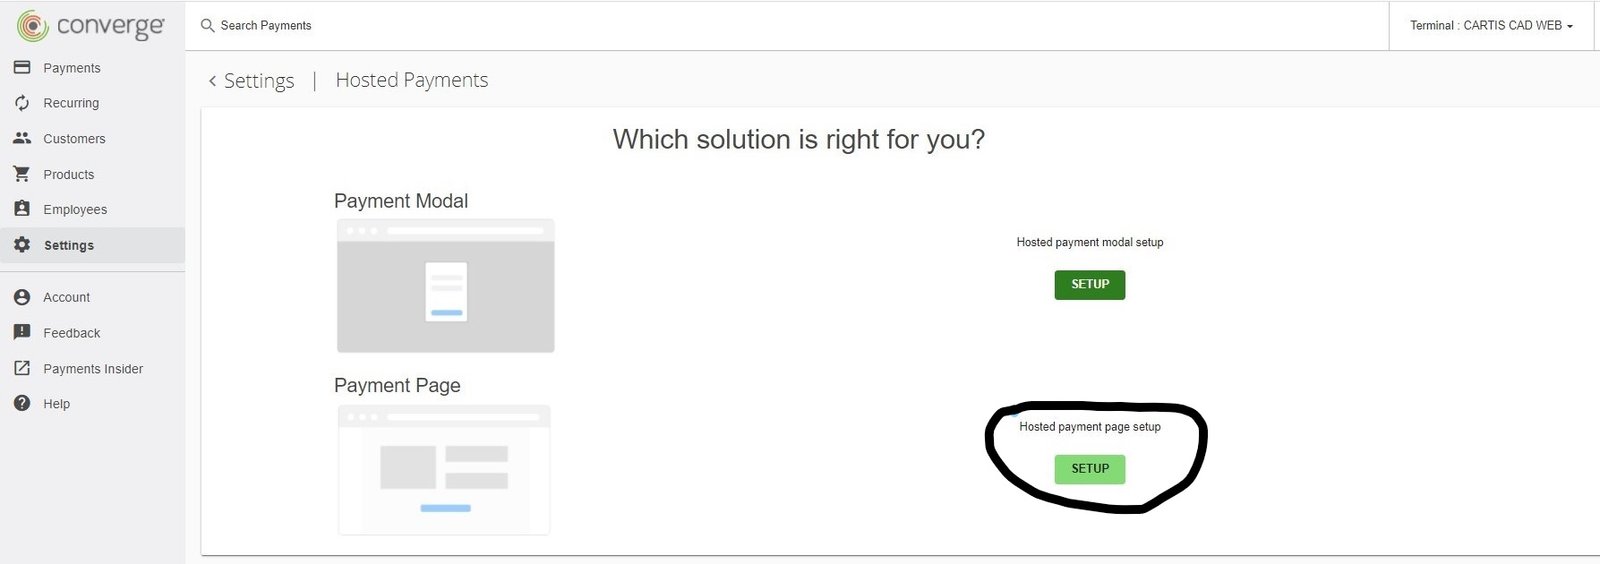
You’ll see two tabs: Payment Page and Response Page. You can customize both.
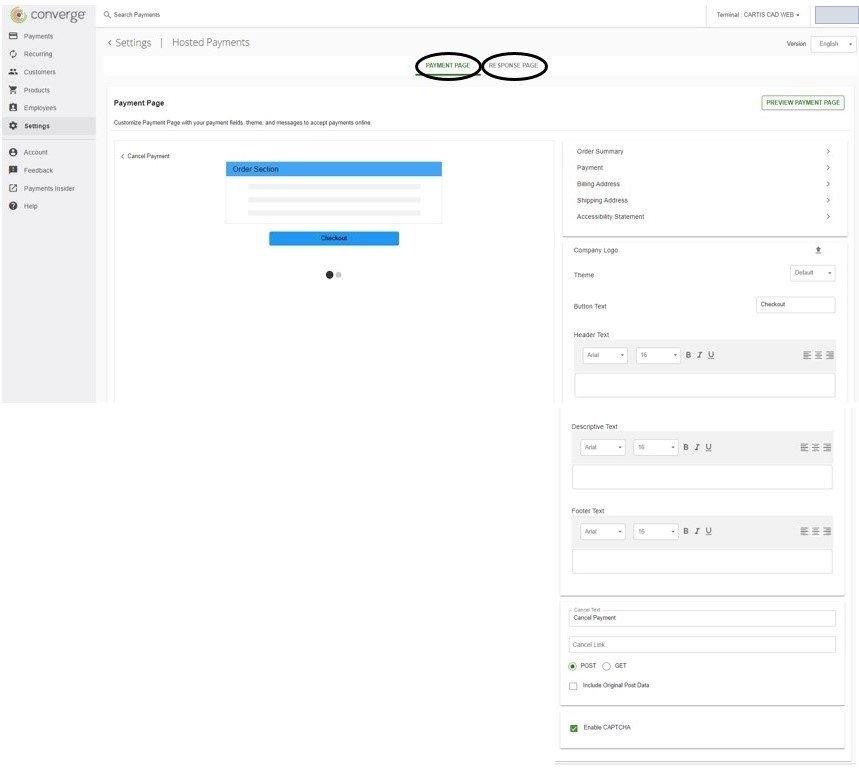
What can I change on the payment page?
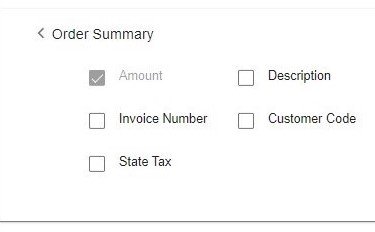
Order Summary
Add an invoice number, description or customer code field for the customer to fill in.
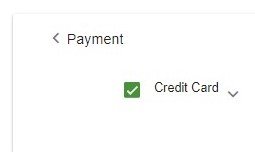
Payment
Choose which payment types the page accepts. You can only pick from what is active on your account, for example credit cards, ACH (US only) or gift cards.
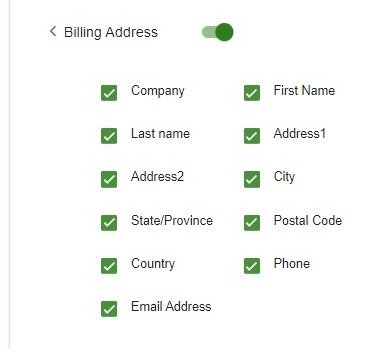
Billing Address and Shipping Address
Turn each section on or off, and choose which fields appear, such as company name, first name, email and phone.
For the cardholder to receive an email receipt copy of the transaction, the Email Address button must be clicked on
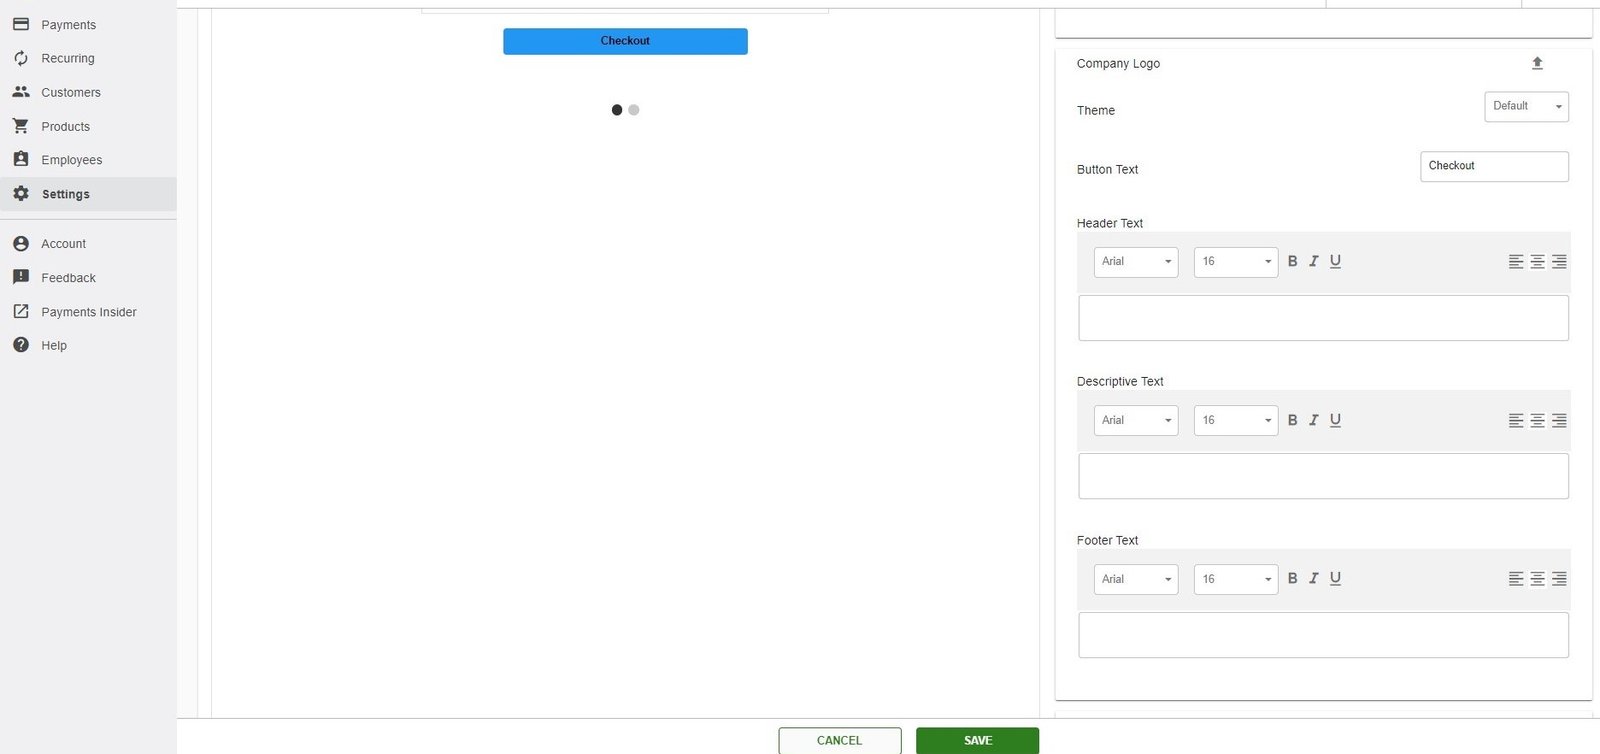
Company logo, theme and text
You can upload a company logo, change the page’s look with the Theme setting, and edit the button text. You can also add header, footer and descriptive text.
Even though these are not required fields, for website review at least the DBA name and contact information is required
Cancel Payment
Use this if you’re setting up the hosted payment page together with a software or website integration. It controls what happens when the cardholder presses cancel, for example sending them to your own cancelled-payment page.
Enable Captcha
We advise checking this box. It helps stop bots and authorization testing from running on your payment page.

How do I customize the response pages?
The response pages are what your customer sees after paying. You can customize the approval page, the decline page and, if applicable, a redirect URL. As on the payment page, you choose which sections and fields display.

Updated November 2, 2026
Still stuck? Talk to a person.
Our team answers the phone.
Taking payments with Converge? See Converge from Cartis